Laying plastic tiles into the garage was always at the top of my list of flooring options, but before I could lay anything, I had an issue…
Flooding.

Due to the way the pad was laid, and there being no threshold for the door to recess into to keep water out, the rain would hit the door and be driven under the weather strips by the prevailing wind.
In the picure above, I had just loosly laid a rubber strip to make sure it fitted. So to allow the floor to dry out fully I jerry rigged a tarp over the door and down to ground level to deter the wind and rain.


Once the floor had dried out, I began fitting the rubber threshold from Screwfix.

Cut tosize and a generous portion of adhesive applied to the base, I stuck it down into place.

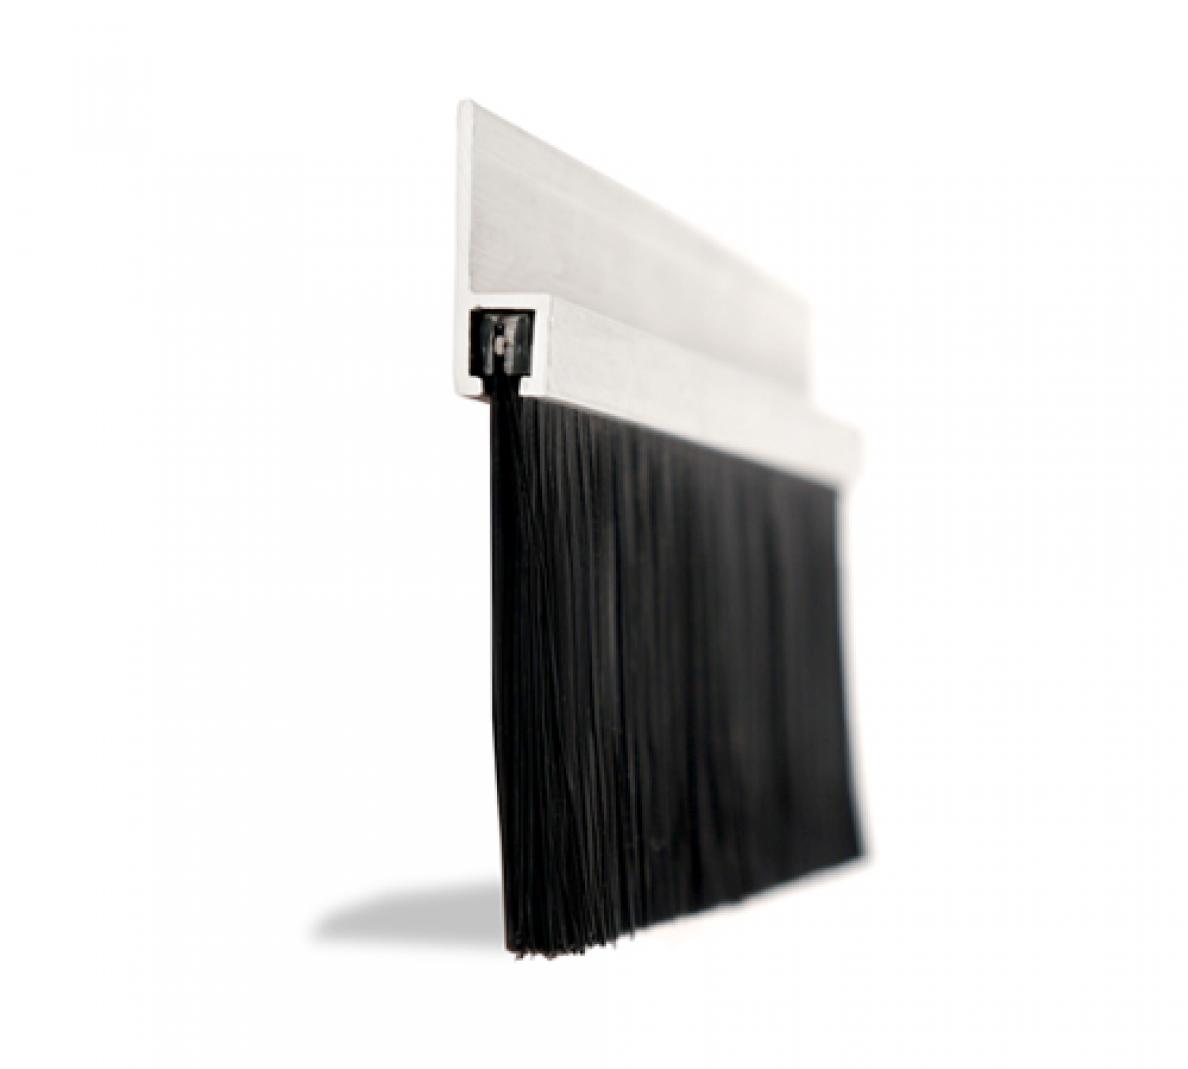
Around this time I also fitted some 100mm brush strips around rthe outside of the door to cut down on the draughts that were piling in around the door. I fitted these with hex-head self drilling tech screws. As well as a cold tar ramp also installed.

Now for the floor.
The Tile I chose were from a local supplier, R-Tek, and I went for a very safe, anthracite grey. They’re fast to lay, durable, look good, easy to replace if they get damaged and most of all the floor doesnt need to be repainted every few years.
I started by removing the plastic skirting boards, hoovering the floor, and laying a strip along the garage door, and another up the pedestrian entry side and worked out from there.

Cutting the tiles could be done by hand, using a strong blade, or hand saw, but I chose to use a 1mm angle grinder disk as it was much faster. They’re really easy to work with even around tricky areas!
I finished the edge nearest the door with edging ramps from Rtek, which really finish the job, if you’re thinking you dont need them at an edge, think again! They really do top it off nicely.
I moved my work area back into the corner and that was the flooring complete.

I added some extra shelves down the left hand side, and that is the garage finished for now. Though I may add some high level storage at another date along the right hand side.